KeyboardAvoidingView - consistent behavior on IOS and Android without any additional libraries
The way to have consistent behaviors of KeyboardAvoidingView across the platforms.
Author: Bartosz Dadok
The goal of this article is to explain how to accomplish consistent keyboard behavior when the user focuses on the input. In the video below, you can see the best results you can achieve using KeyboardAvoidingView provided by React Native on the left side. The right side of the video shows the difference after implementing CustomKeyboardAvoidingView.
The article explains differences between keyboard behaviors on Android and IOS when implementing CustomKeyboardAvoidingView which gives a much better user experience while opening the keyboard.
If you like the behavior on the right side more than on the left, this article is for you!
If you have ever tried to implement KeyboardAvoidingView in React Native you can see the difference between IOS and Android. The most common approach is to implement KeyboardAvoidingView this way:
   <KeyboardAvoidingView
    behavior={Platform.OS === 'ios' ? 'padding' : undefined}
    keyboardVerticalOffset={60}
    style={styles.container}>
    {children}
   </KeyboardAvoidingView>
This code is used in a majority of mobile apps written in React Native. There is nothing wrong with the code above, but we can have a much better user experience using a different approach to keyboard avoding view.
The effect of this code is seen on the left side of the video. Let's see that again:
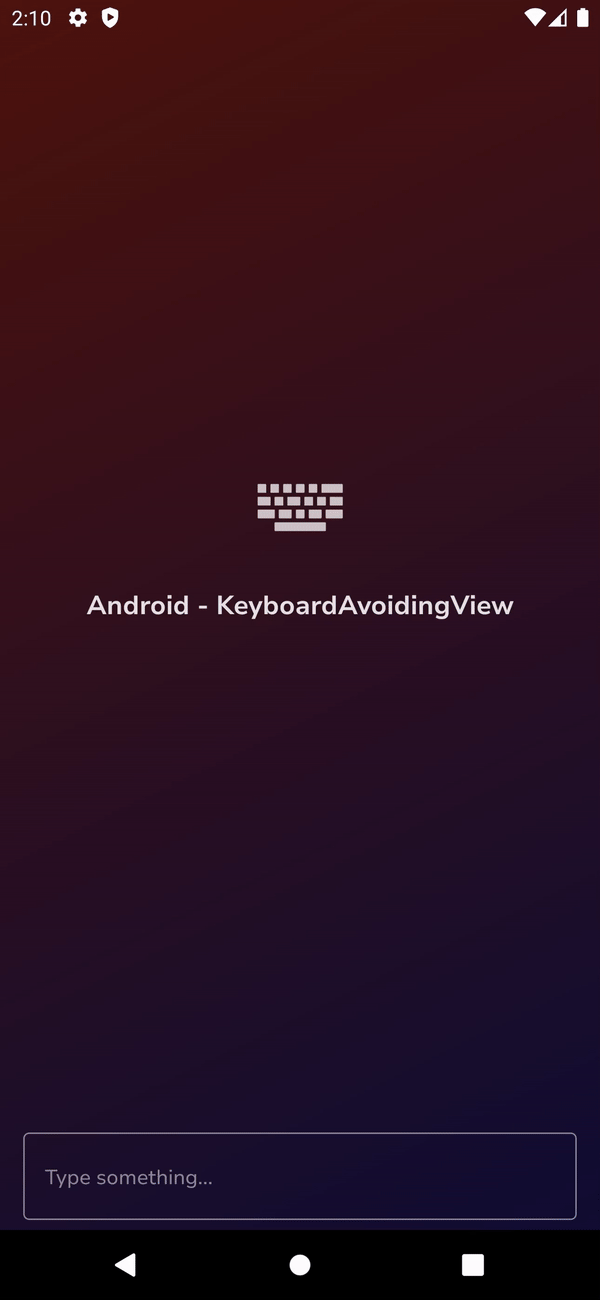
Android
IOS
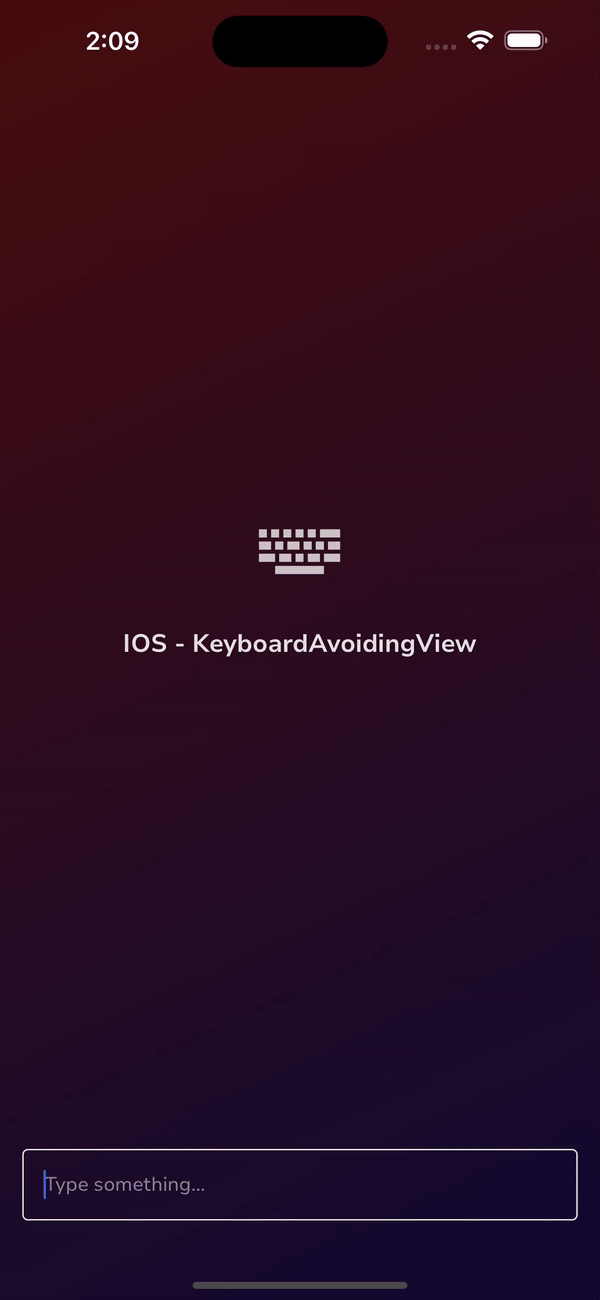
As you can see on Android, the content jumps up while opening the keyboard. When on IOS, the behavior is smooth and friendly.
After reading this article, you will accomplish the same behavior on iOS and Android and have complete control over the keyboard and view.
Since IOS is working smoothly, let's focus first on Android.
Android API and keyboard modes
Android API allows us to decide how a layout should behave when we focus the input and the keyboard is showing. We can control that using the attribute windowSoftInputMode. The attribute is located in AndroidManifest.xml.
<activity
    android:name=".YourActivity"
    android:windowSoftInputMode="adjustResize">
    <!-- Other activity attributes -->
</activity>
In Expo, we can control the attribute in the app.json file.
"expo": {
    "android": {
      "softwareKeyboardLayoutMode": "adjustResize",
    },
}
In React Native and Expo projects by default, the windowSoftInputMode attribute is set to adjustResize.
But apart from that, we can set it to a different value.
The windowSoftInputMode attributes:
- adjustResize: The view gets smaller to make room for the keyboard.

- adjustPan: The view moves up when the keyboard shows up.

- adjustNothing: The window remains unchanged, without resizing or shifting. Nothing happen with the view. We cannot even see the input, the view stays where it was.

- adjustUnspecified: The system decides whether to resize or move the window when the keyboard pops up. There is no GIF attached because you never know which value will be there.
Android and IOS differences
First, let's start with the plain TextInput provided by React Native; as you can see we don’t use the KeyboardAvoidingView component here.
We have freshly installed ReactNative or Expo project (by default, on Android, windowSoftInputMode is adjustResize) and View, which contains only a TextInput.
We have this screen:
<View style={{ flex: 1, justifyContent: "flex-end", backgroundColor: 'rgba(0,0,0,0.5)' }}>
    <TextInput style={{  height: 60, padding: 7, backgroundColor: 'rgba(0,0,0,0.1)' }}/>
<View>
Let's see the difference between Android and IOS:
Android

IOS

Without the KeyboardAvoidingView component, IOS, by default, behaves precisely like Android with the windowSoftInputMode attribute set to adjustNothing. The keyboard covers the input, and the view stays unchanged.
On Android, the input is moved up and stays visible.
That is a big difference, and the reason why this implementation is the most common in projects:
   <KeyboardAvoidingView
    behavior={Platform.OS === 'ios' ? 'padding' : undefined}
    keyboardVerticalOffset={60}
    style={styles.container}>
    {children}
   </KeyboardAvoidingView>
As shown at the beginning the effect of this code is:
Android
IOS
For Android, the behavior property is set to undefined, which means do nothing; it behaves like there is no KeyboardAvoidingView component.
As I mentioned at the beginning, using this method is the best React Native can provide when using KeyboardAvoidingView.
The main problem for me is the lack of animation. The content jumps when the keyboard is being opened on Android. That is the reason I decided to create CustomKeyboardAvoidingView.
CustomKeyboardAvodingView
We don't want to use KeyboardAvoidingView anymore, meaning we need to disable the default keyboard behavior on Android. You already know by default that Android windowSoftInputMode is adjustResize. We want to change this. We want to have the same behavior as on IOS, so by default, we want to do nothing when the keyboard is opened. As you can already guess, the way to do that is to set windowSoftInputMode to adjustNothing.
For React Native:
<activity
    android:name=".YourActivity"
    android:windowSoftInputMode="adjustNothing">
    <!-- Other activity attributes -->
</activity>
For Expo in app.json file:
"expo": {
    "android": {
      "softwareKeyboardLayoutMode": "adjustNothing",
    },
}
Once done, we want to animate the screen when the user focuses on the input while the keyboard is being opened. We need to go through 2 steps.
1. Listening for keyboard opening/hiding events.
2. Animate the content while the keyboard is being opened.
For the first step, let's create the CustomKeyboardAvoidingView component and add event listeners:
import { Platform, Keyboard } from "react-native"

const isIOS = Platform.OS === "ios"

const CustomKeyboardAvoidingView = () => {
  const [keyboardOpen, setKeyboardOpen] = useState(false)
  const [keyboardHeight, setKeyboardHeight] = useState(0)

  useEffect(() => {
    const keyboardWillShowListener = Keyboard.addListener(
      isIOS ? "keyboardWillShow" : "keyboardDidShow",
      e => {
       setKeyboardOpen(true)
       setKeyboardHeight(e.endCoordinates.height)
      },
    )
    const keyboardWillHideListener = Keyboard.addListener(
      isIOS ? "keyboardWillHide" : "keyboardDidHide",
      e => {
        setKeyboardOpen(false)
        setKeyboardHeight(e.endCoordinates.height)
      },
    )
    return () => {
      keyboardWillShowListener.remove()
      keyboardWillHideListener.remove()
    }
  }, [])
}
As you can see, there is a difference between IOS and Android. keyboardWillShow and keyboardWillHide events are allowed only on IOS; on Android, we have to use keyboardDidShow and keyboardWillShow.
Having that knowledge, we know when the keyboard is open and the height of the keyboard. This information is necessary to animate the content.
Second step. Animate the content.
We have two options: we can use Animated API from React Native or the react-native-reanimated library. I am using Animated API because I encountered some problems with react-native-reanimated in the past using it in this component. The issues can already be solved, so feel free to use react-native-reanimated.
import { Platform, Keyboard, Animated, ViewStyle } from "react-native";
import { PropsWithChildren, useEffect, useRef, useState } from "react";

type CustomKeyboardAvoidingViewProps = {
  screenWithBottomTabNavigation?: boolean;
  offset?: number;
  positionBottom?: boolean;
  customStyles?: ViewStyle;
};

const isIOS = Platform.OS === "ios";
const INITIAL_POSITION = 0;
const BOTTOM_TAB_HEIGHT = isIOS ? 78 : 50;

const CustomKeyboardAvoidingView = ({
  screenWithBottomTabNavigation = false,
  offset = 0,
  positionBottom = false,
  customStyles,
  children,
}: PropsWithChildren<CustomKeyboardAvoidingViewProps>) => {
  const [keyboardOpen, setKeyboardOpen] = useState(false);
  const [keyboardHeight, setKeyboardHeight] = useState(0);

  const translateY = useRef(new Animated.Value(INITIAL_POSITION)).current;

  const getTranslateYValue = () => {
    // When the keyboard is open and the input and bottom tabNavigator is at the bottom of the screen
    if (keyboardOpen && positionBottom && screenWithBottomTabNavigation) {
      return -keyboardHeight + BOTTOM_TAB_HEIGHT;
      // Only when the keyboard is open and the input is at the bottom of the screen
    } else if (keyboardOpen && positionBottom) {
      return -keyboardHeight + offset;
      // Only when the keyboard is open, no input at the bottom of the screen and bottom tab navigator
    } else if (keyboardOpen) {
      return -offset;
    } else {
      // When keyboard is closed
      return INITIAL_POSITION;
    }
  };

  const animateTranslateY = () => {
    Animated.timing(translateY, {
      toValue: getTranslateYValue(),
      duration: isIOS ? 300 : 200, // on IOS the keyboard event is fired a bit faster so I put more dalay. It is up to you.
      useNativeDriver: true,
    }).start();
  };

  useEffect(() => {
    const keyboardWillShowListener = Keyboard.addListener(
      isIOS ? "keyboardWillShow" : "keyboardDidShow",
      (e) => {
        setKeyboardOpen(true);
        setKeyboardHeight(e.endCoordinates.height);
      }
    );
    const keyboardWillHideListener = Keyboard.addListener(
      isIOS ? "keyboardWillHide" : "keyboardDidHide",
      (e) => {
        setKeyboardOpen(false);
        setKeyboardHeight(e.endCoordinates.height);
      }
    );
    return () => {
      keyboardWillShowListener.remove();
      keyboardWillHideListener.remove();
    };
  }, []);

  useEffect(() => {
    animateTranslateY();
  }, [keyboardHeight, keyboardOpen]);

  return (
    <Animated.View style={[customStyles, { transform: [{ translateY }] }]}>
      {children}
    </Animated.View>
  );
};

export { CustomKeyboardAvoidingView };
The preivew of this code:
Android

IOS
It looks nice, but I would like to improve it. Now, we move the whole content up, and the content goes out of the screen.
It would be a much better user experience when the content fits the screen while the keyboard is open. We accomplish that with animating paddingTop.
import { Platform, Keyboard, Animated, ViewStyle } from "react-native";
import { PropsWithChildren, useEffect, useRef, useState } from "react";

type CustomKeyboardAvoidingViewProps = {
  screenWithBottomTabNavigation?: boolean;
  offset?: number;
  positionBottom?: boolean;
  animatedPaddingTopValue?: mumber
  customStyles?: ViewStyle;
};

const isIOS = Platform.OS === "ios";
const INITIAL_POSITION = 0;
const INITIAL_PADDING_TOP = 0;
const BOTTOM_TAB_HEIGHT = isIOS ? 78 : 50;

const CustomKeyboardAvoidingView = ({
  screenWithBottomTabNavigation = false,
  offset = 0,
  positionBottom = false,
  animatedPaddingTopValue = 0,
  customStyles,
  children,
}: PropsWithChildren<CustomKeyboardAvoidingViewProps>) => {
  const [keyboardOpen, setKeyboardOpen] = useState(false);
  const [keyboardHeight, setKeyboardHeight] = useState(0);

  const translateY = useRef(new Animated.Value(INITIAL_POSITION)).current;
  const paddingTop = useRef(new Animated.Value(INITIAL_PADDING_TOP)).current;

  const getTranslateYValue = () => {
    // When the keyboard is open and the input and bottom tabNavigator is at the bottom of the screen
    if (keyboardOpen && positionBottom && screenWithBottomTabNavigation) {
      return -keyboardHeight + BOTTOM_TAB_HEIGHT;
      // Only when the keyboard is open and the input is at the bottom of the screen
    } else if (keyboardOpen && positionBottom) {
      return -keyboardHeight + offset;
      // Only when the keyboard is open, no input at the bottom of the screen and bottom tab navigator
    } else if (keyboardOpen) {
      return -offset;
    } else {
      // When keyboard is closed
      return INITIAL_POSITION;
    }
  };

  const animateValues = () => {
    Animated.parallel([
      Animated.timing(translateY, {
        toValue: getTranslateYValue(),
        duration: isIOS ? 300 : 200,
        useNativeDriver: false,
      }),
      Animated.timing(paddingTop, {
        toValue: keyboardOpen ? animatedPaddingTopValue : 0,
        duration: isIOS ? 300 : 200,
        useNativeDriver: false,
      }),
    ]).start();
  };

  useEffect(() => {
    const keyboardWillShowListener = Keyboard.addListener(
      isIOS ? "keyboardWillShow" : "keyboardDidShow",
      (e) => {
        setKeyboardOpen(true);
        setKeyboardHeight(e.endCoordinates.height);
      }
    );
    const keyboardWillHideListener = Keyboard.addListener(
      isIOS ? "keyboardWillHide" : "keyboardDidHide",
      (e) => {
        setKeyboardOpen(false);
        setKeyboardHeight(e.endCoordinates.height);
      }
    );
    return () => {
      keyboardWillShowListener.remove();
      keyboardWillHideListener.remove();
    };
  }, []);

  useEffect(() => {
    animateValues();
  }, [keyboardHeight, keyboardOpen]);

  return (
    <Animated.View
      style={[customStyles, { transform: [{ translateY }], paddingTop }]}
    >
      {children}
    </Animated.View>
  );
};

export { CustomKeyboardAvoidingView };
Final effects:
Android
IOS
The whole app code, which you can see in the GIFs, is available here.
Github repository - CustomKeyboardAvoidingView -->
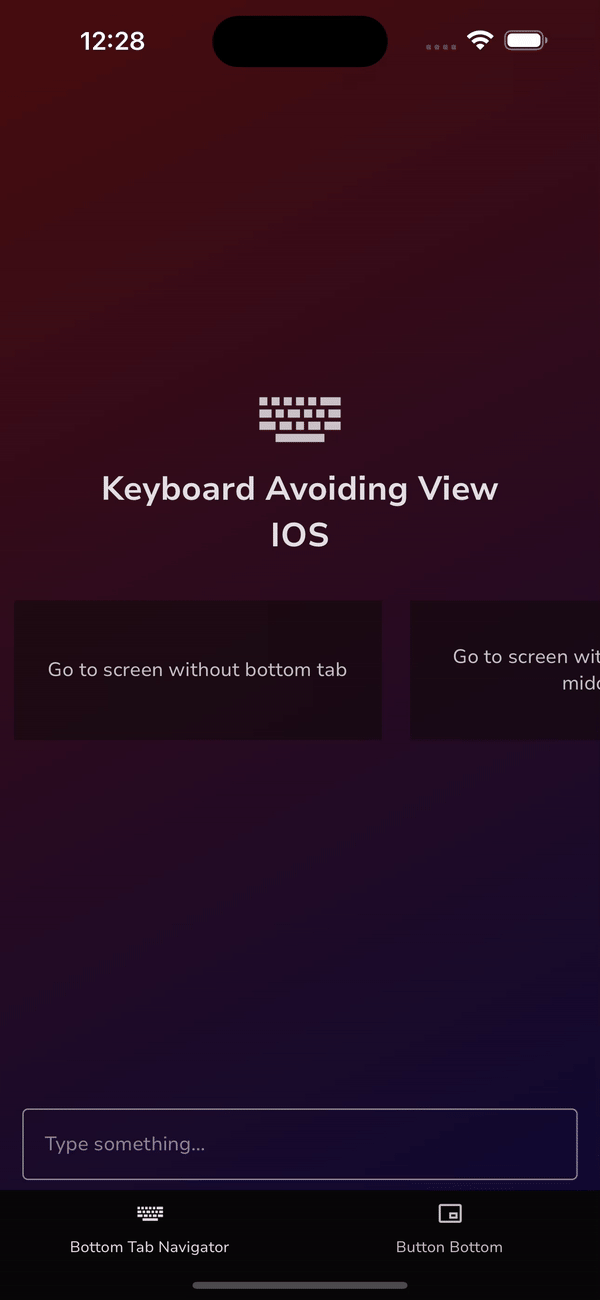
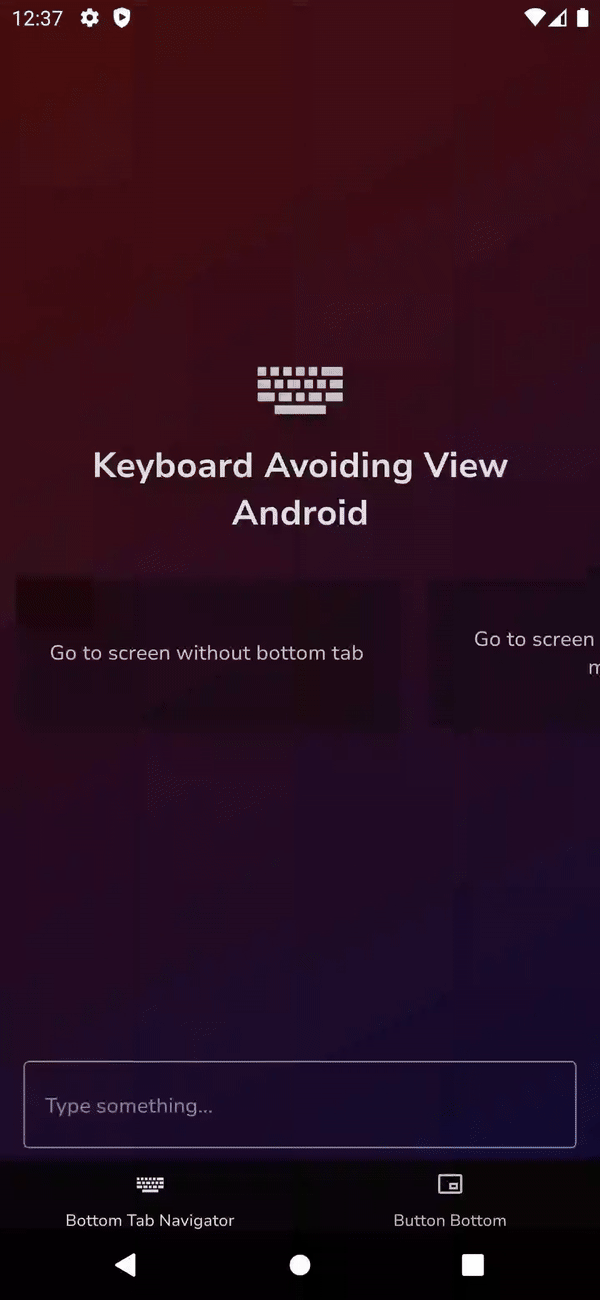
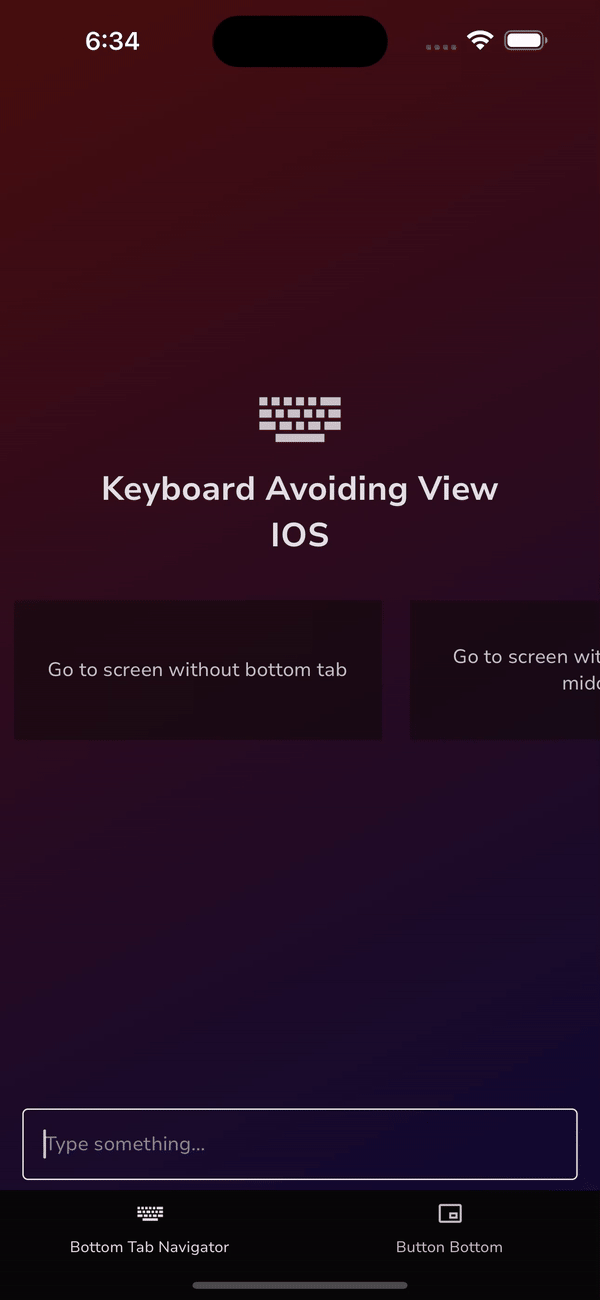
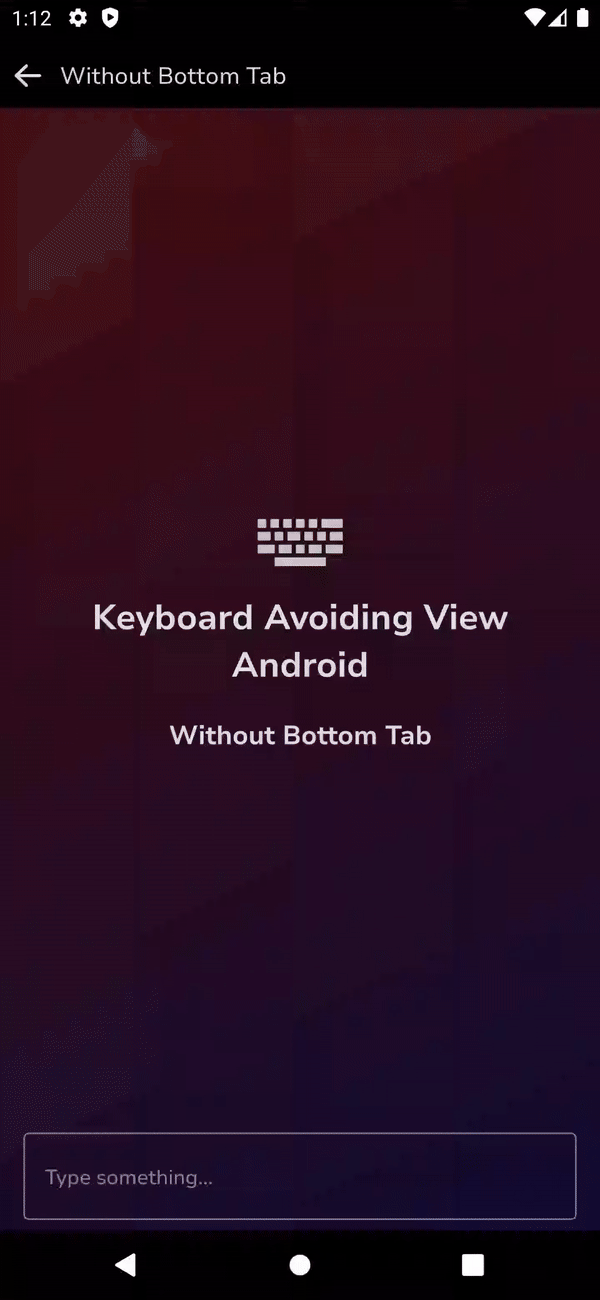
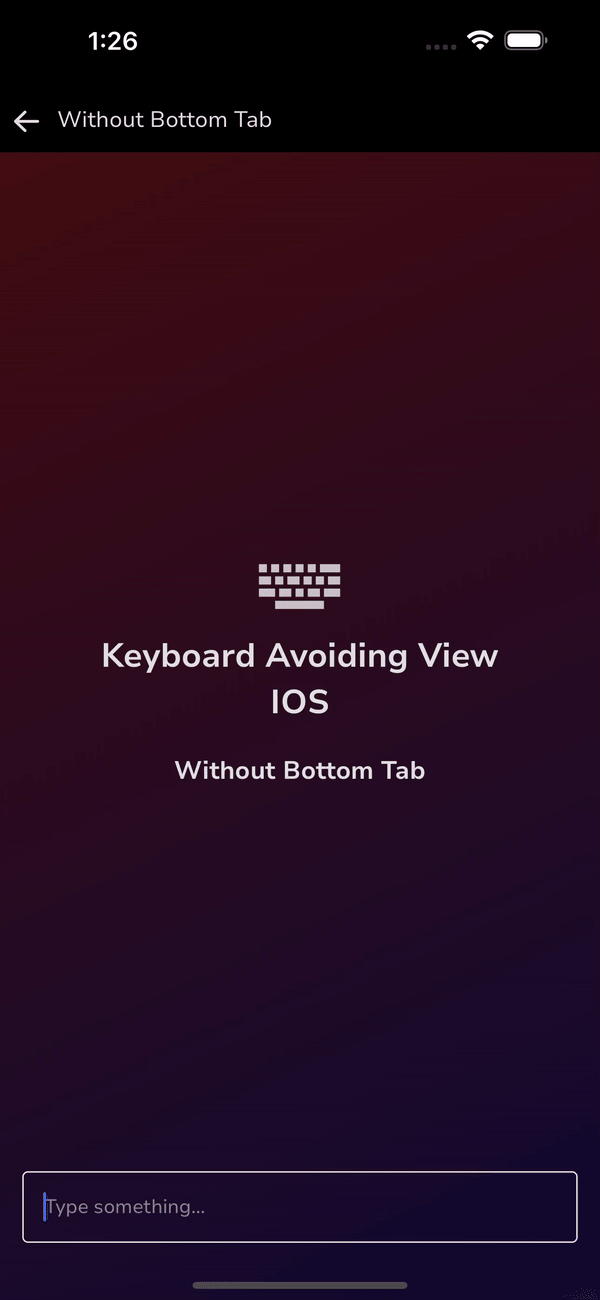
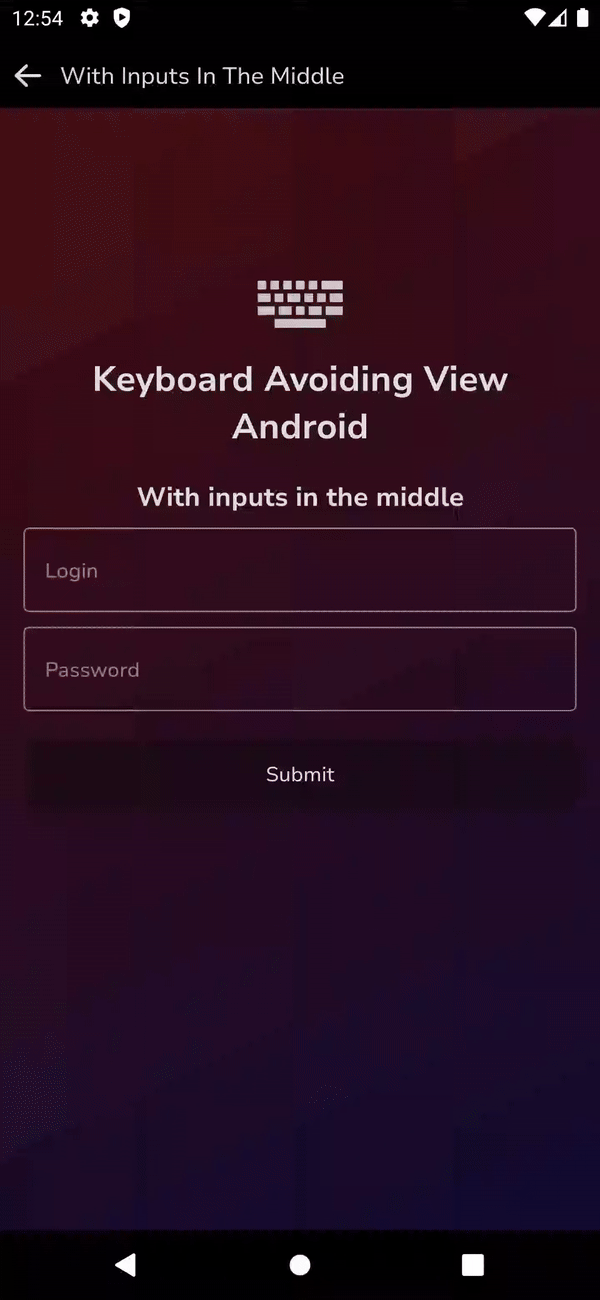
Previews from the app:
Screen without bottom tab:
Android
IOS
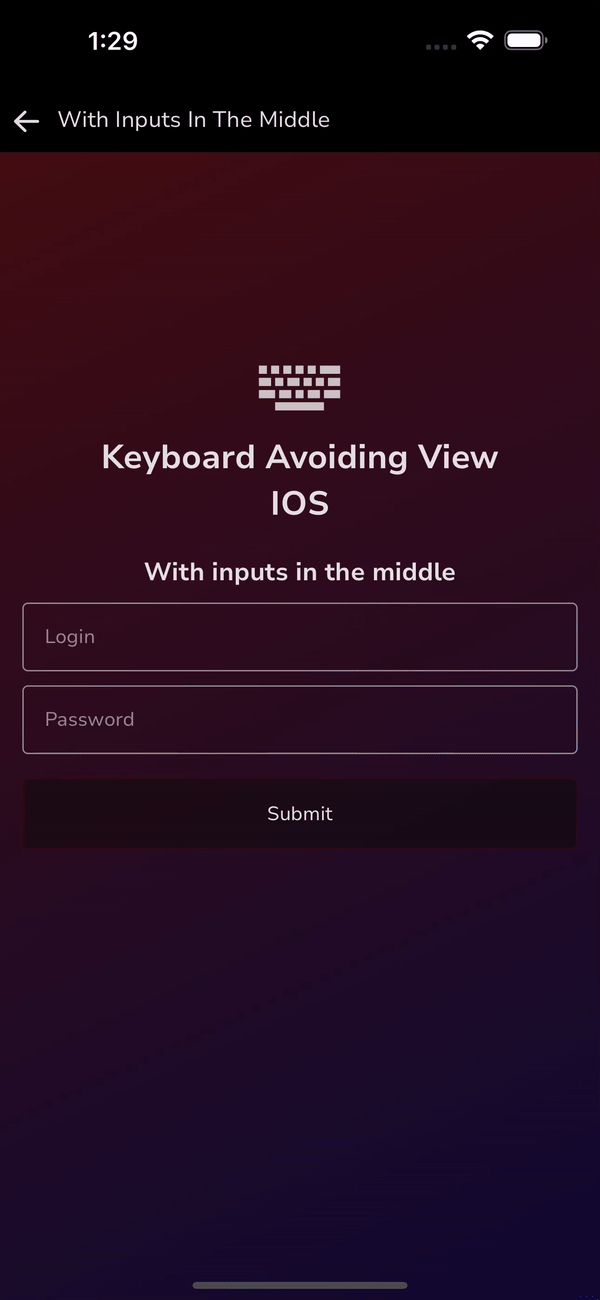
Login screen with inputs in the middle:
Android
IOS
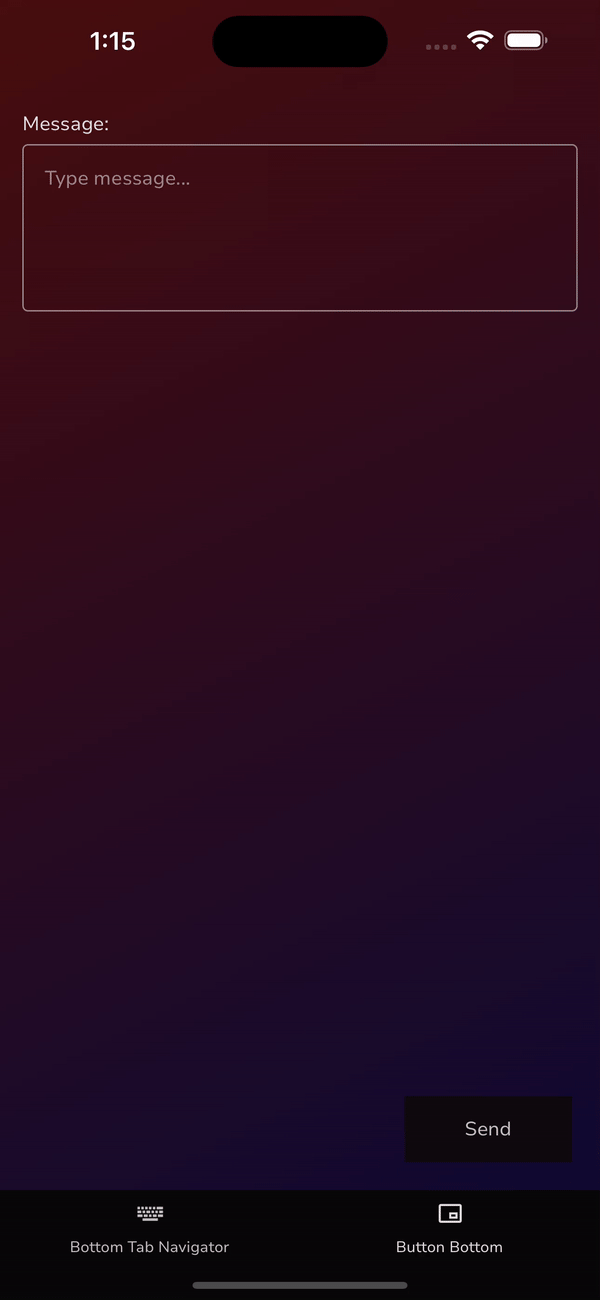
Screen with button at the bottom:
Android

IOS
If you find this article helpful, please share it on your social media. Also let's connect on Linkedin.
Thanks!